Getting started with OpenEBS and NFS Server Provisioner on RKE Bare Metal Cluster with Rancher
Foreword
This Article is a practical hands-on guide on how to get started with a persistent storage on a bare metal cluster on an existing infrastructure. It's based on my own experiences and decisions.
Background
I'm a software developer and working on different kinds of applications. They are mostly based on PHP and often they need some kind of persistence. While in most cases simple memory-based volumes for things like caches are fine I need something special in my current project. This application is a platform where you can upload documents and access them over the UI. So, the first requirement is to persist these documents over the lifetime of a pod. The second requirement is that I need a persistence mechanism to access these documents from a single storage with multiple Pods to be able to scale my application.
Requirement analysis
So what does those requirements mean? Persistence over the lifetime of a pod in Kubernetes is achieved by using persistent volumes. While simple solutions like hostPath volumes work well for a single pod on a single node, it doesn't work for a multi node cluster with the ability to scale across nodes. For this purpose, I need a persistent volume with ReadWriteMany mode which is not supported by any built-in type.
Possibilities
There are many great solutions for this problem.
- Many cloud providers also provide additional persistent storage, but this storage comes with additional costs.
- Longhorn is a solution from Rancher. Its latest version ships with build in support for ReadWriteMany. It uses the node storage and has additional features like its own dashboard, backups and high availability support. It is available as Helm Chart, if you're using Rancher it is also available in the Cluster Explorer "Marketplace & App" section.
- OpenEBS describes itself as Kubernetes storage simplified. It provides multiple storage engines with different possibilities and storage support. Additional Features are high availability, low latency local volume provisioner, snapshots, and more. It is also missing one feature that is important for my requirements. At this time OpenEBS has no stable built in support for ReadWriteMany volumes.
- NFS Server Provisioner helps with the ReadWriteMany requirement if your current storage solutions don't support it. This Provisioner builds on top of ReadWriteOnce storageclasses or volumes and provide a nfs storageclass with the required ReadWriteMany support.
Decisions
I have a bare metal RKE Cluster hosted on Hetzner Cloud and managed by Rancher. I chose Hetzner Cloud because it is cheap and provides additional features like loadbalancer, internal networks and volumes as additional storage. Hetzner Cloud is located in Germany like me, which helps with the GDPR requirements. Because I'm happy with this, it's no option to change my provider and infrastructure although I have other possibilities.
Hetzner Cloud also provides its own CSI Driver. For each requested volume, this driver adds a new Hetzner Cloud Volume to your node and the requested pod. This driver has two big disadvantages. Each Hetzner Cloud Volume adds additional costs because they are a payed service, and this problem is combined with the limitation that the minimum size of such a volume is 10GB. So, if you only require a few MB volume you get at least a 10GB volume with the related costs. It also provides no ReadWriteMany access mode.
At the time I decided this, Longhorn v1.1.x was not released yet and the new ReadWriteMany support not available.
While Longhorn and OpenEBS are both great solutions I will stick to OpenEBS because of two reasons. At first OpenEBS is more flexible with its different engines. I'm working with different kinds of applications, so I can choose the engine which fits best into the specific use case. The second reason is the resource efficiency. OpenEBS recommends 2GB RAM and 2CPUs, and additional resources per Volume (1GB RAM, 0.5CPU). Longhorn requires 3 nodes, 4GB RAM and 4CPUs. I have a small cluster, so I choose the cheaper solution. I also need the NFS Server Provisioner to get the ReadWriteMany support.
My Environment
- Three Nodes (vServer CPX31) with 8GB RAM, 4 vCPU and 80GB SSD on Hetzner Cloud
- Ubuntu 20.04 Operating System
- Bare Metal RKE Cluster managed with Rancher v2.5.5 and Kubernetes v1.19.6
Getting Started
OpenEBS
Node Prerequirements
With these decisions made, I can start to install required dependencies and the storage solution itself. First step are the node prerequirements.
OpenEBS depends on the ISCSI driver. While the binaries are available in the RKE kubelet container I must install the required kernel drivers in form of the open-iscsi package on each node within the cluster.
apt-get install open-iscsi
To be able to use the replicated storage engine Jiva I also need an additional kernel module iscsi_tcp.
modprobe iscsi_tcp
Installation
To install OpenEBS in a separate namespace openebs I have to create the namespace first.
kubectl create namespace openebs
OpenEBS is available in Rancher's "Marketplace & Apps" but only in the Version 1.2.0. At the time of writing the current Version is v2.5.0. I will use the OpenEBS Helm Chart to get the latest stable version.
helm repo add openebs https://openebs.github.io/charts
Because my current goal is to get ReadWriteMany Volumes without additional costs in a scalable way I only need the OpenEBS Jiva Storage Engine. This engine replicates the volume across 3 nodes by default to provide high availability. Jiva uses the available node storage. So, it fulfills the requirements without additional disks and configurations. Now I can tweak the values.yaml by disable not required services and set resource requests and limits.
# values.yaml
# this snipped includes only the changeset

apiserver:
  resources:
    limits:
      cpu: 1000m
      memory: 2Gi
    requests:
      cpu: 500m
      memory: 1Gi

provisioner:
  resources:
    limits:
      cpu: 1000m
      memory: 2Gi
    requests:
      cpu: 500m
      memory: 1Gi

localprovisioner:
  resources:
    limits:
      cpu: 1000m
      memory: 2Gi
    requests:
      cpu: 500m
      memory: 1Gi

jiva:
  replicas: 3 # change this if you do not have 3 nodes

snapshotOperator:
  enabled: false

ndm:
  enabled: false

ndmOperator:
  enabled: false

webhook:
  resources:
    limits:
      cpu: 500m
      memory: 1Gi
    requests:
      cpu: 250m
      memory: 500Mi
With these values I'm installing OpenEBS into the openebs namespace.
helm install openebs openebs/openebs -f values.yaml -n openebs
If everything works as expected it should look like this.
kubectl get deployments -n openebs

NAME                          READY   UP-TO-DATE   AVAILABLE   AGE
openebs-admission-server      1/1     1            1           115m
openebs-apiserver             1/1     1            1           115m
openebs-localpv-provisioner   1/1     1            1           114m
openebs-provisioner           1/1     1            1           115m
Storageclasses
After the installation is done there are several new storageclasses available.
kubectl get storageclass

NAME                        PROVISIONER                                                RECLAIMPOLICY   VOLUMEBINDINGMODE      ALLOWVOLUMEEXPANSION   AGE
openebs-device              openebs.io/local                                           Delete          WaitForFirstConsumer   false                  15h
openebs-hostpath            openebs.io/local                                           Delete          WaitForFirstConsumer   false                  15h
openebs-jiva-default        openebs.io/provisioner-iscsi                               Delete          Immediate              false                  15h
openebs-snapshot-promoter   volumesnapshot.external-storage.k8s.io/snapshot-promoter   Delete          Immediate              false                  15h
For detailed information about the different storageclasses and related engines consider the OpenEBS Documentation.
First Result
After OpenEBS is installed and running we got our first storageclasses to work with. This makes the creation and usage of persistent volumes even simpler because we only need to define a PersistentVolumeClaim and reference it in our preferred storageclass. This new kind of volume is highly available, can have any size I want in the boundaries of the available node storage and exists over the lifetime of the pod.
Try it out
To be sure that the storageclass works as expected I create a small PVC and nginx pod.
kind: PersistentVolumeClaim
apiVersion: v1
metadata:
  name: jiva-pvc
spec:
  storageClassName: openebs-jiva-default
  accessModes:
    - ReadWriteOnce
  resources:
    requests:
      storage: 10Mi
With kubectl we can verify that the PVC is bound to the storageclass.
kubectl get pvc

NAME       STATUS   VOLUME                                     CAPACITY   ACCESS MODES   STORAGECLASS           AGE
jiva-pvc   Bound    pvc-dd984902-95be-4693-8f84-696d45d15f1f   10Mi       RWO            openebs-jiva-default   1m
Next, I create a nginx pod to use this PVC.
apiVersion: v1
kind: Pod
metadata:
  labels:
    run: nginx
  name: nginx
spec:
  containers:
  - image: nginx:alpine
    name: nginx
    volumeMounts:
    - name: vol
      mountPath: /usr/share/nginx/html
  restartPolicy: Never
  volumes:
  - name: vol
    persistentVolumeClaim:
      claimName: jiva-pvc
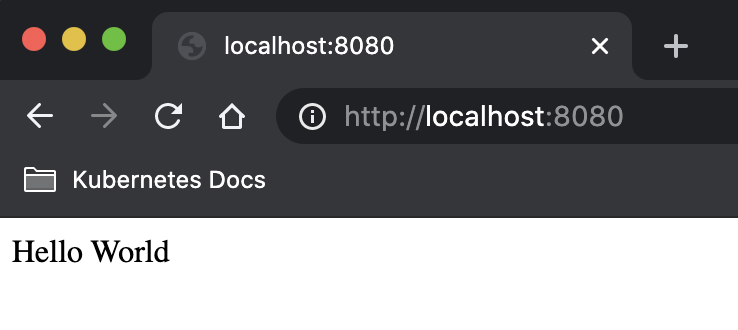
If the Pod gets into a Running state, I verified that the Persistent Volume was created and bound. Last verification step is to persist something into the volume and show if it works as expected.
kubectl exec -it nginx -- /bin/sh -c 'echo "Hello World" > /usr/share/nginx/html/index.html'
kubectl port-forward nginx 8080:80

Great, the OpenEBS part is well done.
Install NFS Server Provisioner
With OpenEBS Jiva as the underlying storage engine I can configure and install the NFS Server Provisioner for my ReadWriteMany access mode requirement. I will use the Helm Chart for installation but with modified values. I changed the persistence part to use OpenEBS Jiva storageclass with a 40GB capacity. I'm using 40GB as capacity because of the replication on 3 nodes which will require at least 40GB per node. So, it is not a 1:1 relationship between the node storage size and the volume size. I also add resource requests and limits.
# values.yaml
# this snipped includes only the changeset

persistence:
  enabled: true
  storageClass: openebs-jiva-default
  accessMode: ReadWriteOnce
  size: 40Gi
storageClass:
  defaultClass: false
resources:
  limits:
    cpu: 200m
    memory: 256Mi
  requests:
    cpu: 100m
    memory: 128Mi
I create a namespace nfs and install the NFS Server Provisioner with my custom values.yaml
kubectl create namespace nfs

helm install nfs-server-provisioner kvaps/nfs-server-provisioner -f values.yaml -n nfs
After the installation completes the newly created storageclass nfs is available.
kubectl get storageclass

NAME                        PROVISIONER                                                RECLAIMPOLICY   VOLUMEBINDINGMODE      ALLOWVOLUMEEXPANSION   AGE
nfs                         cluster.local/nfs-server-provisioner                       Delete          Immediate              true                   1h
openebs-device              openebs.io/local                                           Delete          WaitForFirstConsumer   false                  1h
openebs-hostpath            openebs.io/local                                           Delete          WaitForFirstConsumer   false                  1h
openebs-jiva-default        openebs.io/provisioner-iscsi                               Delete          Immediate              false                  1h
openebs-snapshot-promoter   volumesnapshot.external-storage.k8s.io/snapshot-promoter   Delete          Immediate              false                  1h
Try it out
I repeat the previous verification with the new nfs storageclass and ReadWriteMany access mode.
kind: PersistentVolumeClaim
apiVersion: v1
metadata:
  name: nfs-pvc
spec:
  storageClassName: nfs
  accessModes:
    - ReadWriteMany
  resources:
    requests:
      storage: 10Mi
apiVersion: v1
kind: Pod
metadata:
  labels:
    run: nginx
  name: nginx-nfs
spec:
  containers:
  - image: nginx:alpine
    name: nginx
    volumeMounts:
    - name: vol
      mountPath: /usr/share/nginx/html
  restartPolicy: Never
  volumes:
  - name: vol
    persistentVolumeClaim:
      claimName: nfs-pvc
kubectl exec -it nginx-nfs -- /bin/sh -c 'echo "Hello World" > /usr/share/nginx/html/index.html'
kubectl port-forward nginx-nfs 8081:80
The result should be the same. But now with NFS and the possibility to share the same volume between pods enabled by the ReadWriteMany access mode.
Conclusion
Tools like OpenEBS and NFS Server Provision make it very easy to get started with persistence in Kubernetes. They provide powerful tools to get stateful applications with different persistence requirements running in the cloud. When your application grows, and more advanced requirements come into place you're flexible enough to enable additional functionality like OpenEBS cStore. But for the beginning it is a cheap while reliable storage for the first steps and beyond.
Bonus: Monitoring for OpenEBS
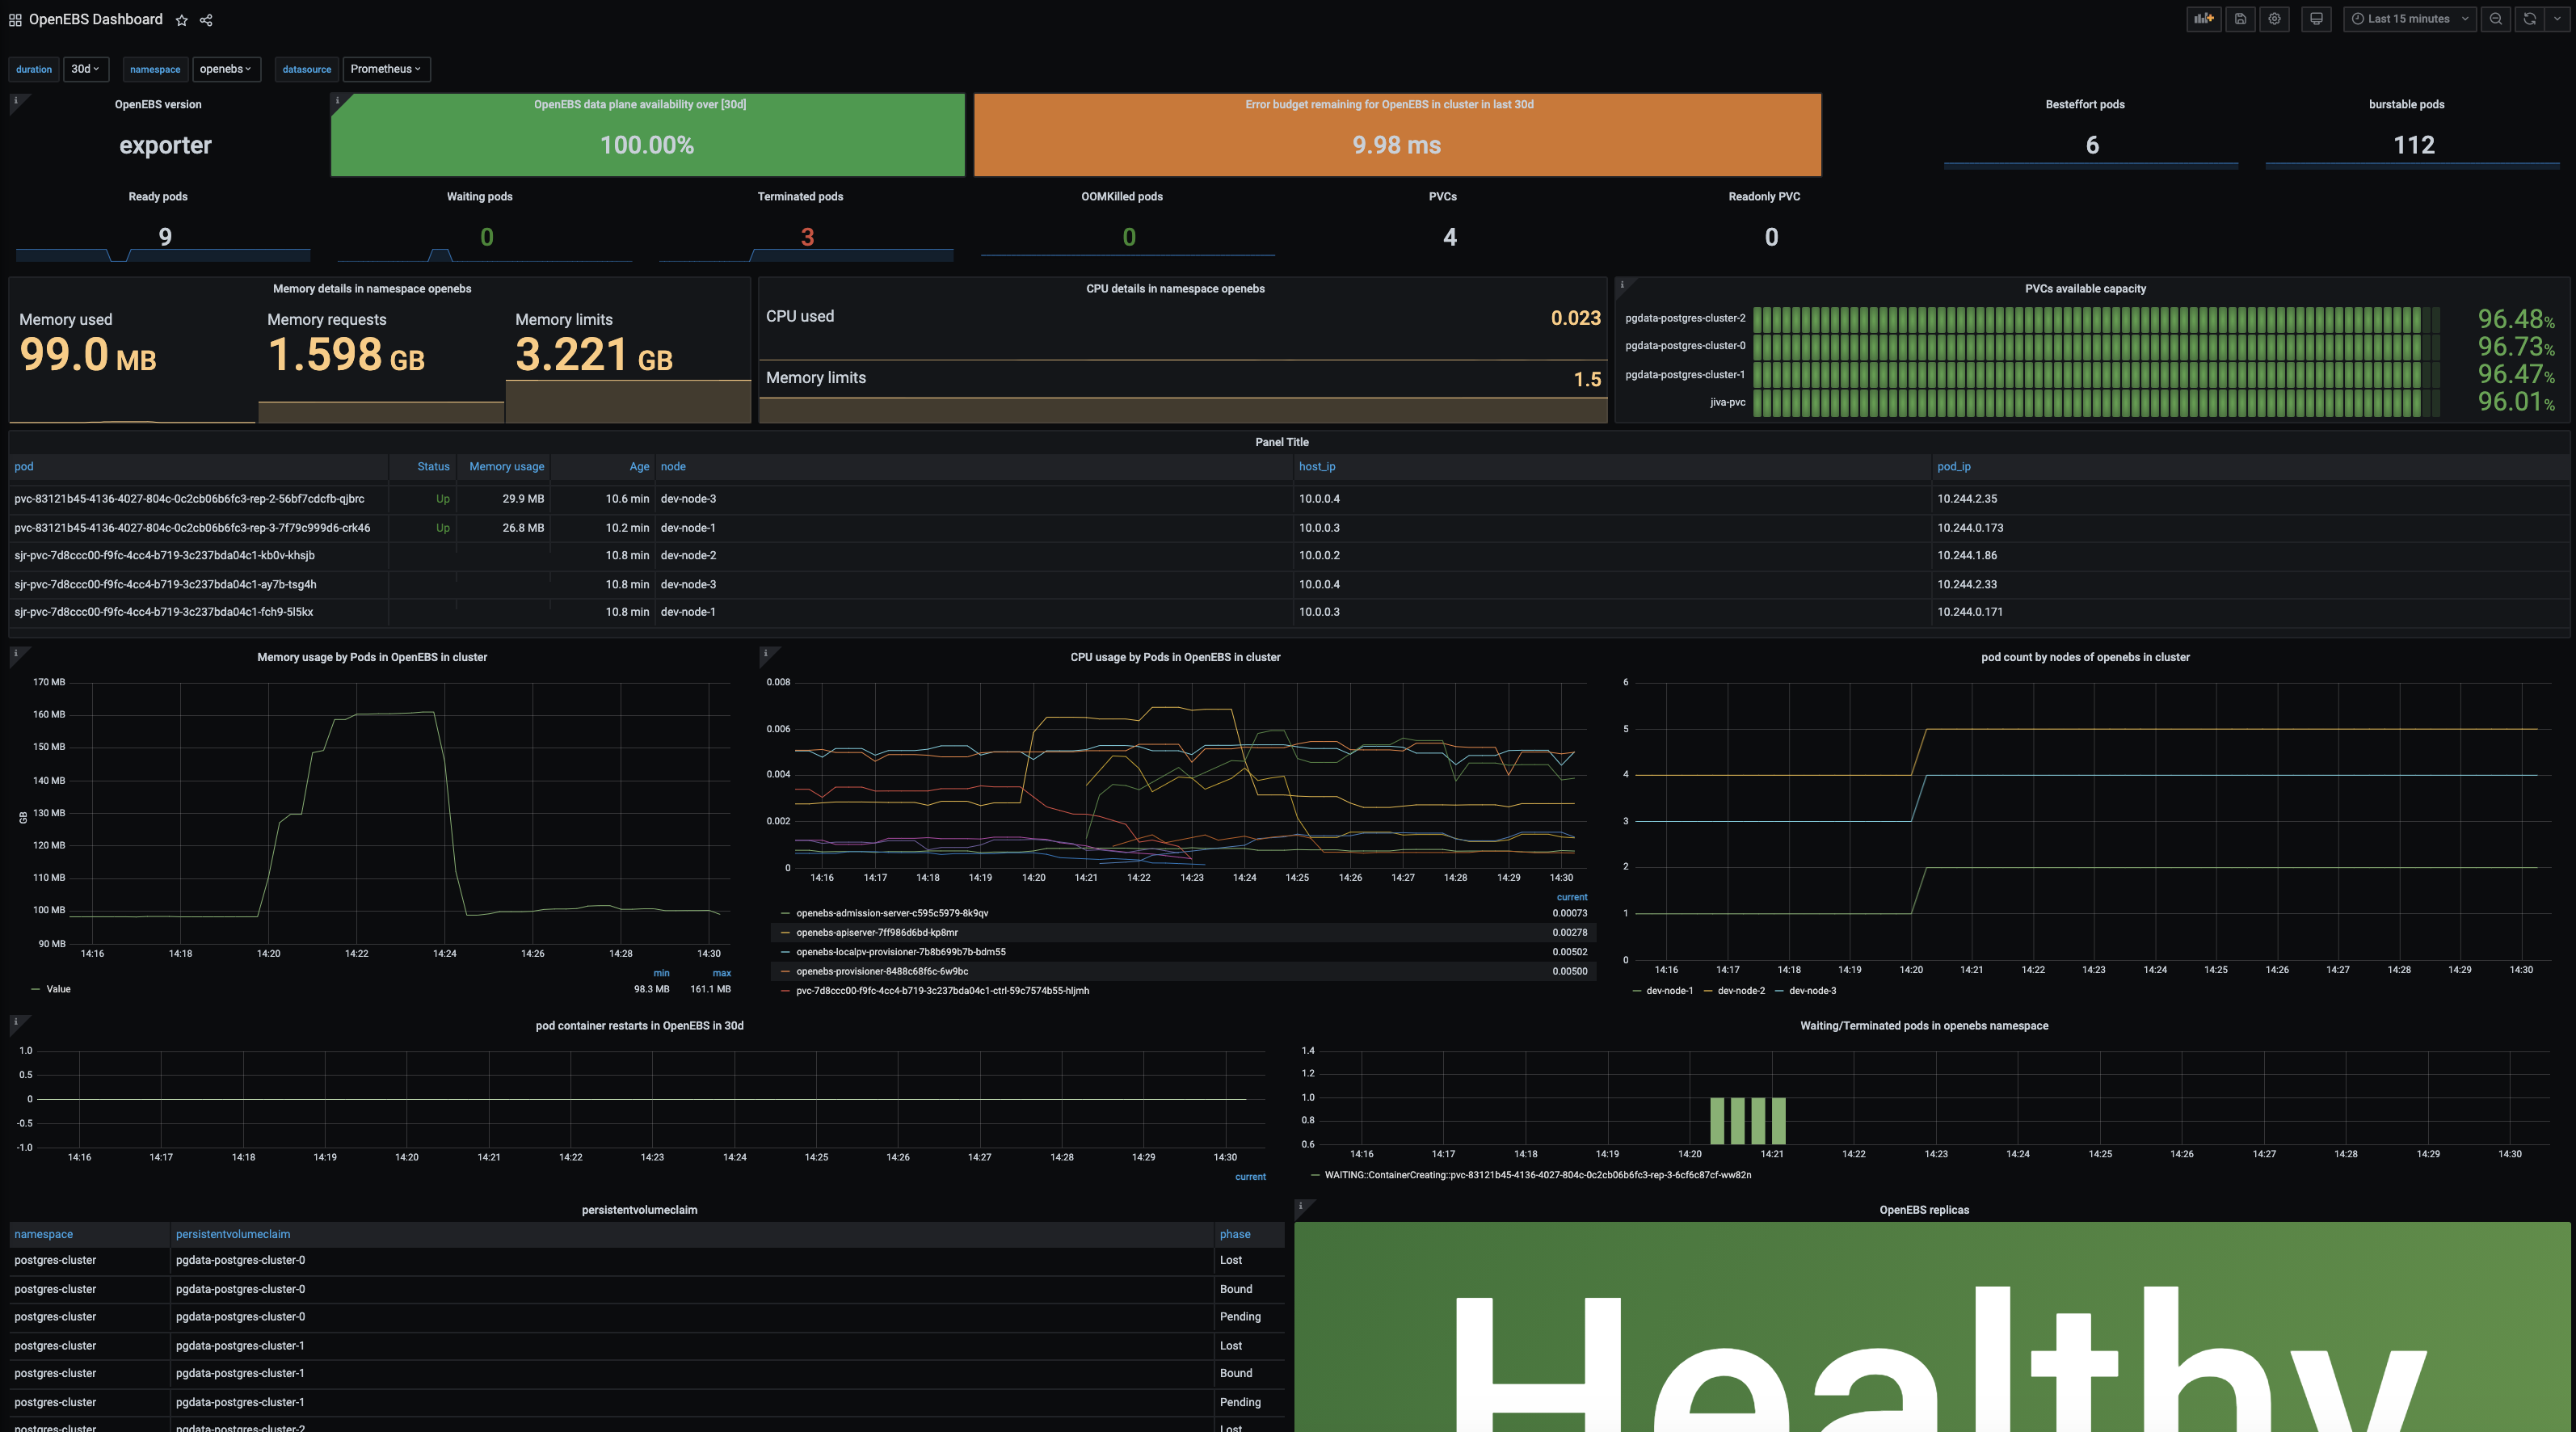
The OpenEBS Helm Chart ships with a Prometheus Metrics API. This metrics are not scraped by default by the Rancher Monitoring Stack. With a few configurations we can change this and provide a modified version of the OpenEBS Grafana Dashboard.
Requirements
- Rancher v2.5 or above to use the new Monitoring Stack
- Rancher Monitoring is installed and working


View the provided OpenEBS metrics
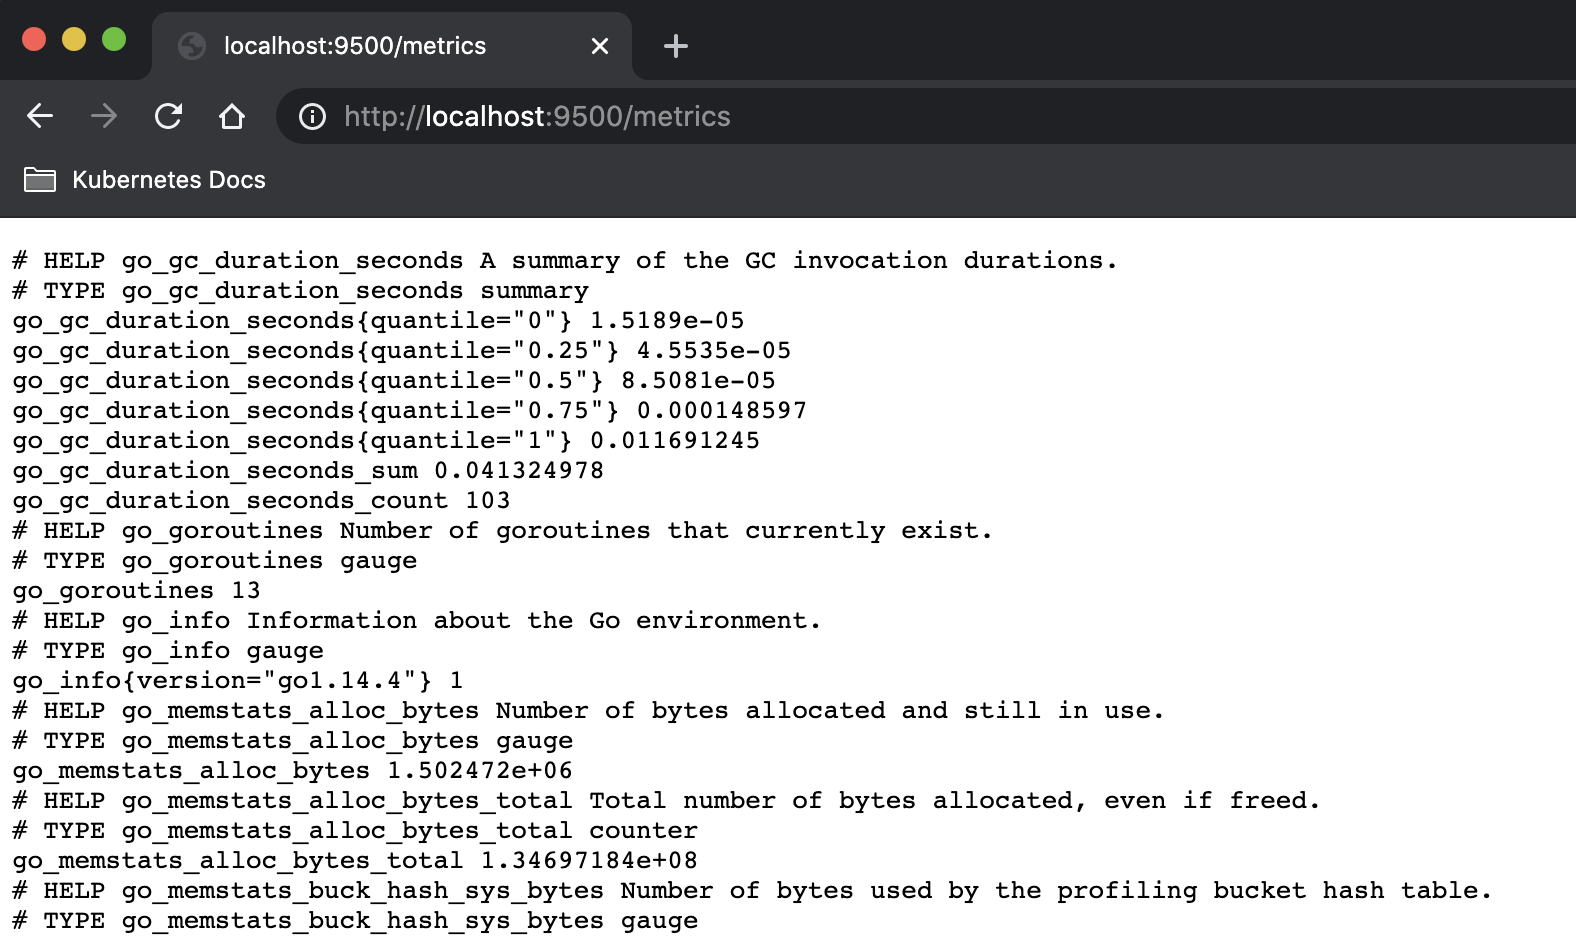
Each PVC creates a new PVC Controller Pod and Service (ClusterIP) within the openebs namespace. You can show this metrics at port 9500 and /metrics path.
kubectl get pods -n openebs | grep "pvc-.*-ctrl"

pvc-1857858e-a03d-4de8-b6fc-ca0402416655-ctrl-5497d68c85-6hcbw    2/2     Running     0          16h
pvc-dd984902-95be-4693-8f84-696d45d15f1f-ctrl-79d49bb979-lfbxk    2/2     Running     0          3h29m

kubectl get svc -n openebs | grep "pvc-.*-ctrl"

pvc-1857858e-a03d-4de8-b6fc-ca0402416655-ctrl-svc   ClusterIP   10.43.58.29     <none>        3260/TCP,9501/TCP,9500/TCP   16h
pvc-dd984902-95be-4693-8f84-696d45d15f1f-ctrl-svc   ClusterIP   10.43.147.255   <none>        3260/TCP,9501/TCP,9500/TCP   3h29m
Show the provided metrics by portforwarding into one of the controller pods.
kubectl port-forward service/pvc-dd984902-95be-4693-8f84-696d45d15f1f-ctrl-svc 9500:9500 -n openebs

Adding OpenEBS PVCs as Prometheus Targets
To use these metrics with our monitoring we must add these services as targets for Prometheus. We use the provided CRD ServiceMonitor for this purpose. Each PVC Controller Service expose the port 9500 as exporter endpoint and has a label openebs.io/controller-service: jiva-controller-svc.
kubectl get service/pvc-dd984902-95be-4693-8f84-696d45d15f1f-ctrl-svc --show-labels -n openebs

NAME                                                TYPE        CLUSTER-IP      EXTERNAL-IP   PORT(S)                      AGE     LABELS
pvc-dd984902-95be-4693-8f84-696d45d15f1f-ctrl-svc   ClusterIP   10.43.147.255   <none>        3260/TCP,9501/TCP,9500/TCP   3h38m   openebs.io/cas-template-name=jiva-volume-create-default-1.12.0,openebs.io/cas-type=jiva,openebs.io/controller-service=jiva-controller-svc,openebs.io/persistent-volume-claim=jiva-pvc,openebs.io/persistent-volume=pvc-dd984902-95be-4693-8f84-696d45d15f1f,openebs.io/storage-engine-type=jiva,openebs.io/version=1.12.0,pvc=jiva-pvc

kubectl describe service/pvc-dd984902-95be-4693-8f84-696d45d15f1f-ctrl-svc -n openebs | grep Port

Port:              iscsi  3260/TCP
TargetPort:        3260/TCP
Port:              api  9501/TCP
TargetPort:        9501/TCP
Port:              exporter  9500/TCP
TargetPort:        9500/TCP
So, we create a ServiceMonitor with the openebs.io/controller-service label selector and exporter port as endpoint.
apiVersion: monitoring.coreos.com/v1
kind: ServiceMonitor
metadata:
  name: openebs-metrics
  namespace: openebs
spec:
  selector:
    matchLabels:
      openebs.io/controller-service: jiva-controller-svc
  endpoints:
  - port: exporter
It can take a few minutes after applying this service monitor until it shows up in the prometheus targets of the Rancher Monitoring.

Finally, we create our new OpenEBS Dashboard by creating a ConfigMap into the cattle-dashboards namespace with a label grafana_dashboard: "1". I did some changes to the base Dashboard to get it working in this Stack.
Use the ConfigMap provided by this Gist to get the Dashboard integration: dashboard.yaml.

This dashboard brings a good overview about availability, performance, used resources, and the generell health of your OpenEBS storage.